How to Draw an Owl
Affiliate Disclaimer: This page may contain affiliate links, which means we earn a commission when you buy through our link (at no additional cost to you). As an Amazon Associate, I earn from qualifying purchases. Read our full Disclosure Policy.
Now you can draw fun characters and animals like this cartoon owl. Learn how to draw an owl with our easy step by step guide.
Cartooning is a stylized type of drawing that is fun for all ages and is easy to learn. You can draw almost anything with just a few basic shapes!
For more drawing practice, check out this drawing book!
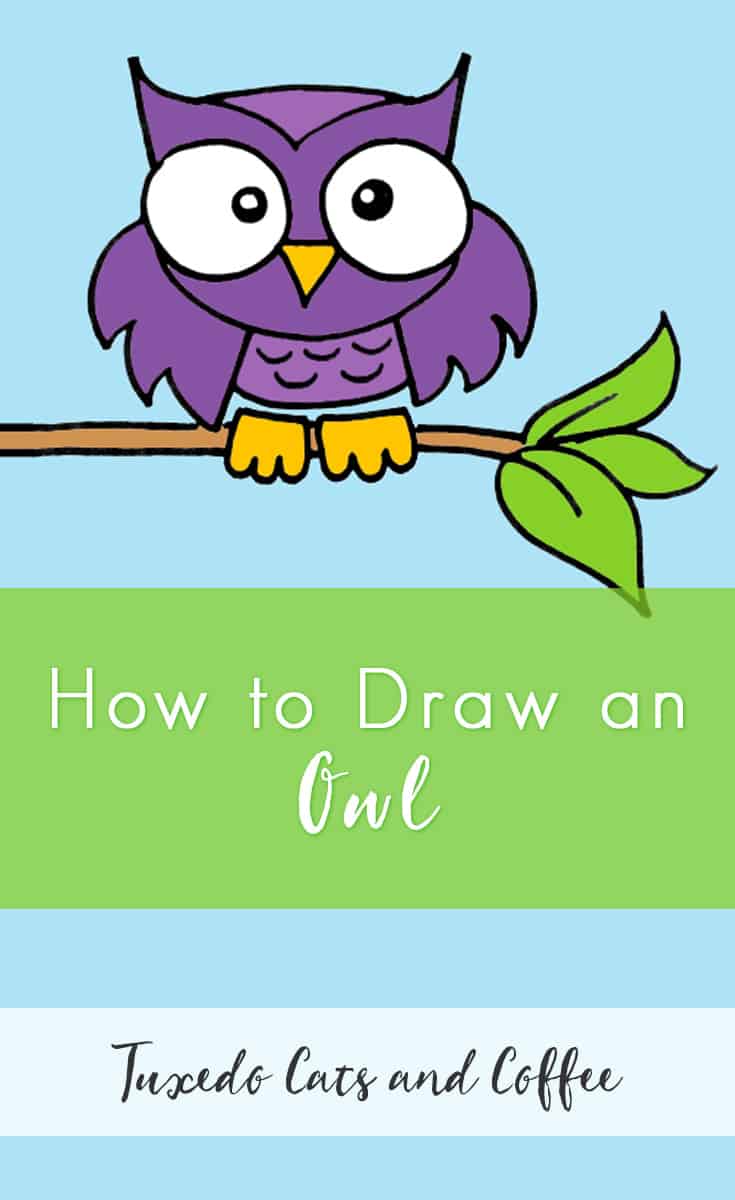
Drawing an owl is a great activity for kids, and you can also use our owl drawing tutorial as owl coloring pages to print out, or you can color in your own owl drawing when you’re done like we’ve done here.
This how to draw an owl tutorial was drawn by the talented 10,000 Drawings for Tuxedo Cats and Coffee. 🙂
How to Draw an Owl
1. Draw an oval
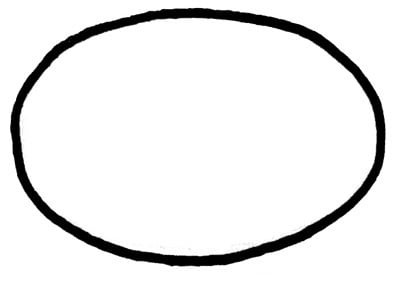
Start with a flat oval for the owl’s body. Use something like pencil so you can erase some of the lines later. You can always finish with something more permanent like markers or crayons when you’re done.
2. Draw another oval

Draw another slightly smaller oval right above the last one you drew. This is the owl’s head. They can overlap because you’re going to erase the lines later.
3. Erase lines and draw the face
Now erase the extra line on the owl’s head so you can draw the face. Draw two big circles for the eyes with black dots (with highlights!) for pupils in the middle of the circles. Then draw an upside down triangle right under the two big circles for the beak.
4. Add wings and a tuft of feathers
Add a V shape to the top of the head for feathers on the owl’s head. Then erase the outside lines on the body so you can draw two half circle shapes for wings (but you’re going to add details in the next step).
5. Add ears, talons, and feathers to the wings
Using the V shape from the last step as a starting point, erase a little section of the top of the head so you can add the owl’s ears. Next add some squiggly feather details to the edges of the wings and draw the owl’s feet, which look like rounded W’s with an extra U at the end.
6. Add feathers and a branch
Add U shapes to the owl’s body for more feathers. Then if you want you can draw a long rectangle shape with tapered ovals at the end so your owl can be sitting on a tree branch. Done!
At this point, you can trace over your drawing in marker and leave it as is or color it in. You can also print out this drawing to use as a coloring page.
7. Color in Your Owl
In this optional step we’re showing what your owl could look like if you color it in.
Ta da!
For more drawing practice, check out this drawing book!