How to Save Money with a DIY Gel Manicure
Affiliate Disclaimer: This page may contain affiliate links, which means we earn a commission when you buy through our link (at no additional cost to you). As an Amazon Associate, I earn from qualifying purchases. Read our full Disclosure Policy.
A while back I decided to try out the whole “gel manicure” thing for a dinner party with friends by getting one of those nail kits from Target. I didn’t really want to fork over $40+ for a special drying lamp to do an actual gel manicure, so here’s how to save money with a DIY gel manicure.
How to Save Money with a DIY Gel Manicure
Related Posts from Other Sites:
What I found was the Impress gel manicure kit. Basically it’s just a set of press-on gel nails. You actually don’t even have to use nail glue and wait for it to dry because they have an adhesive lining on the back. You just peel off the little piece of plastic and stick them to your nails! After that you’re supposed to keep pressing them down to make them stronger. After waiting an hour or so (you don’t have to keep pressing them down that whole time haha, but I wouldn’t get your hands wet during that time), you can file them down to whatever length or shape you’d like.
I’m not great at doing my nails, but these were super easy! One thing I don’t like about regular nail polish is that it lasts me about 30 minutes of looking good before I start chipping them on things. I guess I’m just clumsy haha.
These on the other hand (no pun intended) lasted almost a couple weeks before I finally gave up on having long nails and had to take them off. 😃 (I filed them down a lot though haha).
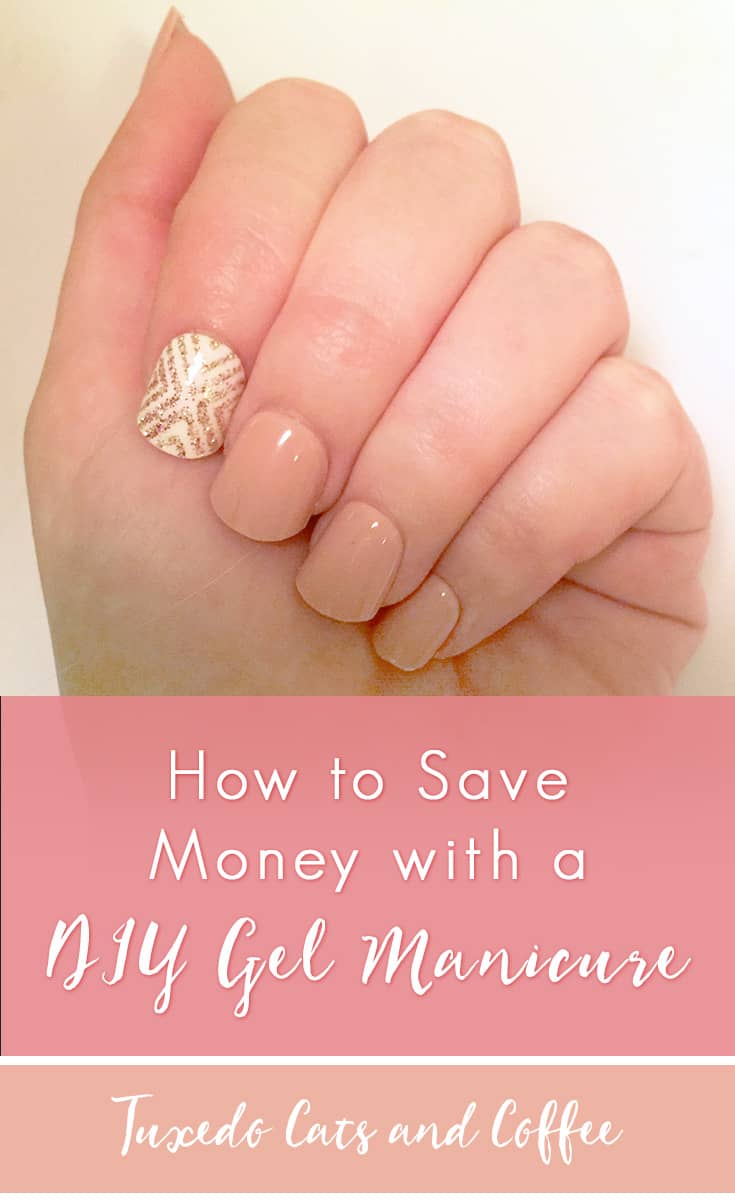
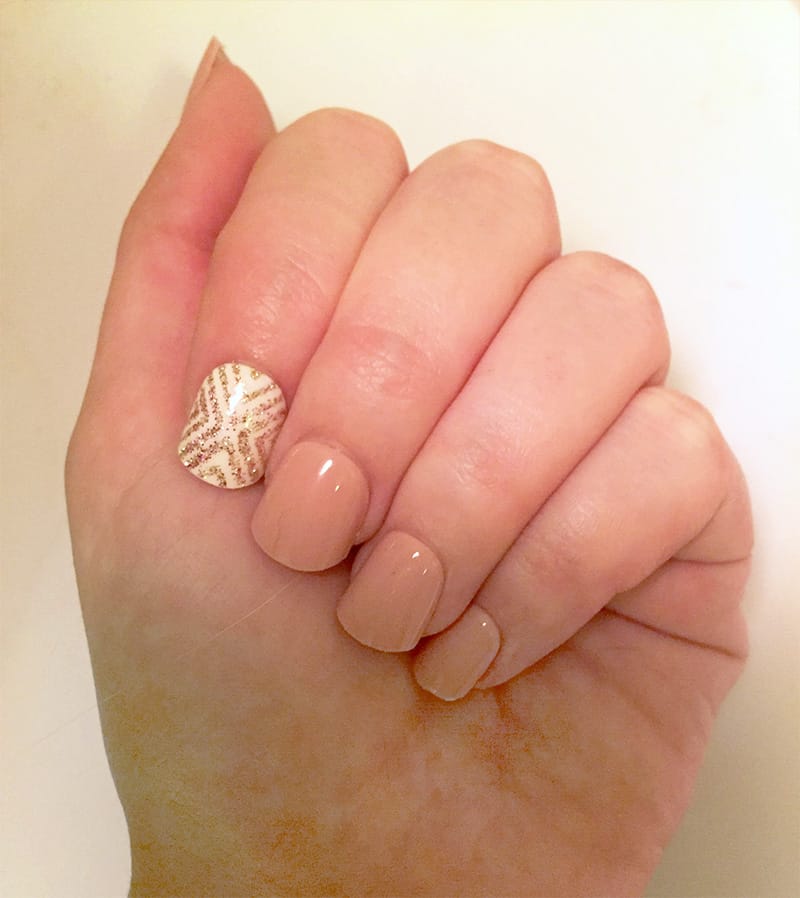
I loved that these are a pretty pink neutral color and have glittery accent nails! I think you usually put the accent nail on your ring finger, but I accidentally put them on my index fingers. I still loved the look of these nails though. 😃 They have lots of different colors and styles too.
The Impress gel manicure kit comes with enough nails for 2 entire manicures, or 4 hands (probably wouldn’t fit right on toes) plus a few extra. In case you have four hands and need those extra nails. They’re about $10, so since you can get two uses out of them, they’re actually a great deal! A nice frugal gel manicure alternative to if you got your nails done at a salon. 🙂
Here are my finished nails:
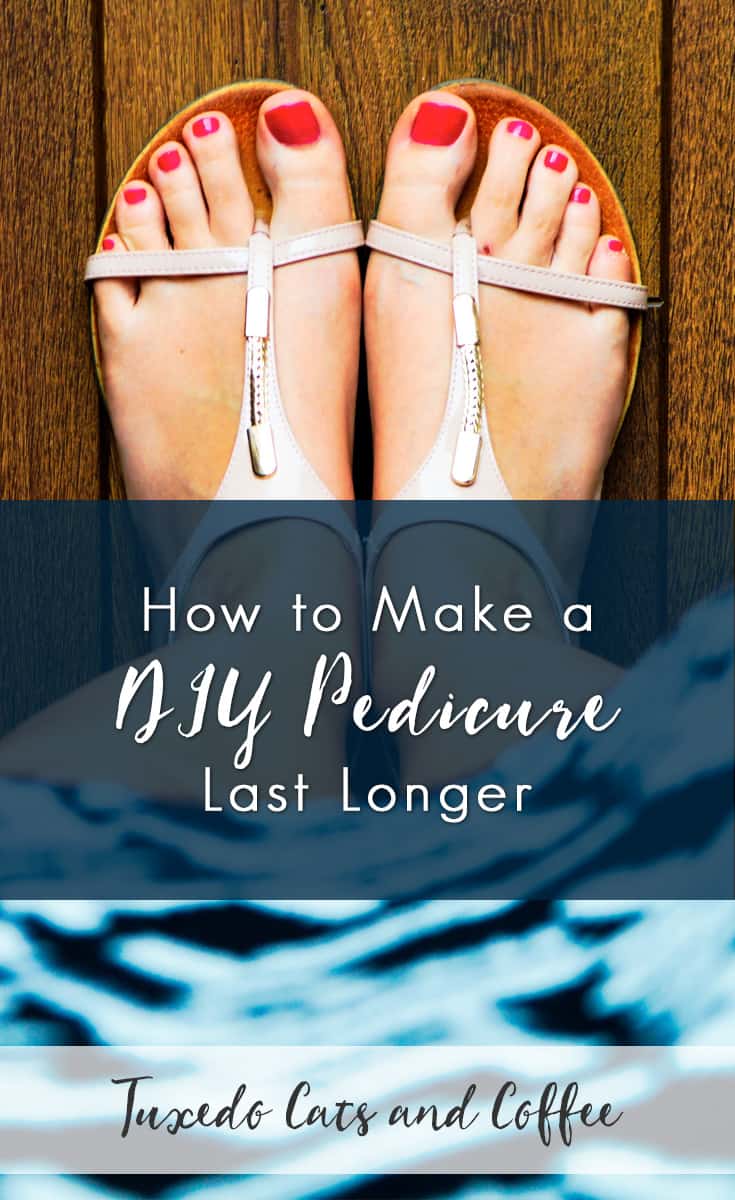
How to Make a DIY Manicure or Pedicure Last Longer
It is a fact universally acknowledged that the polish on your toenails will last anywhere from three months to twelve years, depending on how fast your nails grow. 😉 Whenever I try to give myself a manicure, it lasts for about thirty seconds before chipping and ruining everything, but my pedicures on the other hand (no pun intended) have been known to last for literally six months while still looking pretty ok. Here are my tips on how to make a DIY pedicure last longer.
Ok, so this isn’t about the part of a pedicure where you’re supposed to exfoliate or use lotion or any of that. It’s just about putting polish on your toenails and making it last as long as possible. Speaking of lotion, it’s better to NOT put lotion on your feet before polishing them because the oil will make it impossible for the polish to stick to your toe nails.
The best way to prep your toenails is by gently swiping them with acetone nail polish remover on a cotton pad or sturdy paper towel. Whether or not you actually have previous polish still on your toes, using nail polish remover before you polish your nails gets rid of any oils that make it harder for the polish to stick.

Then, paint your toe nails like normal using a pretty nail polish. And THEN, the important step – after that coat is dry (or you can even do multiple thin coats), finish with a coat of gel polish. Not the kind that you have to cure under a UV lamp (unless you want to put your toes there…) but like this one from Sally Hansen that have the staying power of a gel polish without the hassle. That gel polish is your top coat, and it will seal your toes off from all the elements that threaten to chip your pedicure.
Just by cleaning your nails with acetone nail polish remover, polishing them, and finishing with a faux gel polish coat, your DIY pedicure (or manicure, for that matter) will last much, much longer. Good luck. 🙂