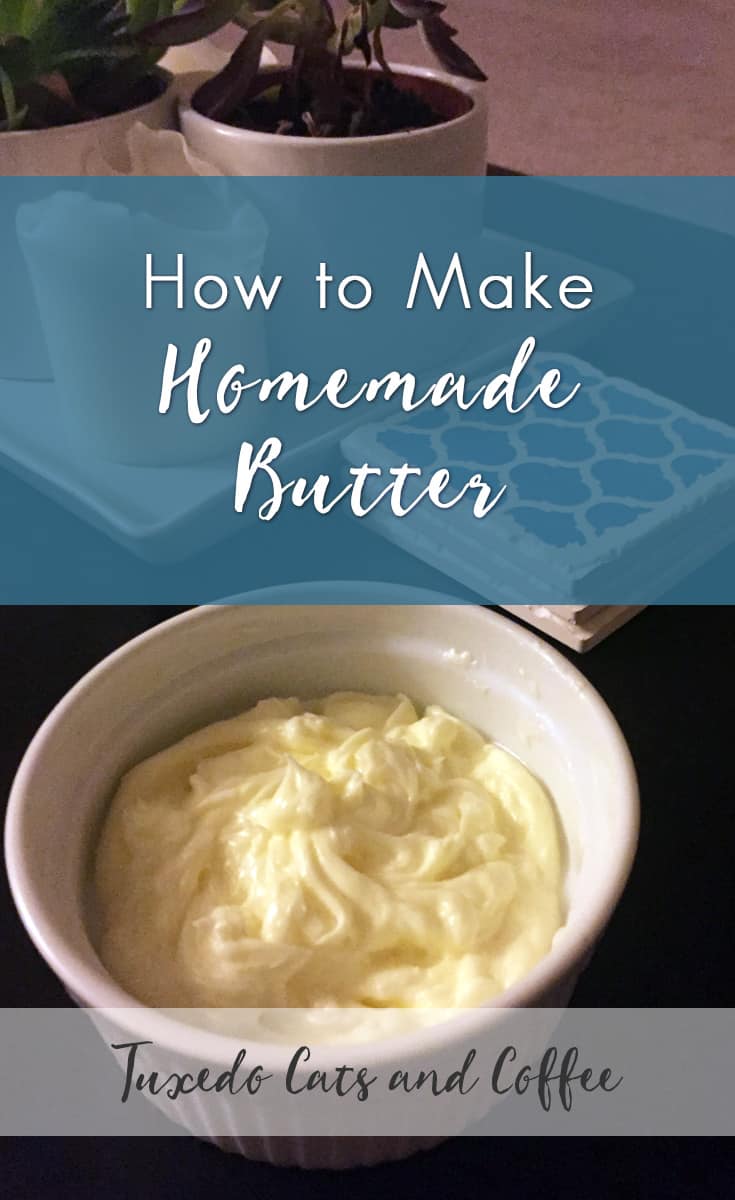
Make Homemade Butter
Affiliate Disclaimer: This page may contain affiliate links, which means we earn a commission when you buy through our link (at no additional cost to you). As an Amazon Associate, I earn from qualifying purchases. Read our full Disclosure Policy.
Making homemade butter is a fun activity and way to make your own food that doesn’t require any cooking. I don’t really cook, so the idea of making homemade butter was appealing because it’s super easy. Here’s how to make homemade butter at home.
According to my mom I used to make this in preschool, so if preschoolers can make butter, so can you!
How to Make Homemade Butter
All you need is heavy whipping cream and a large mason jar (and salt at the end to taste).
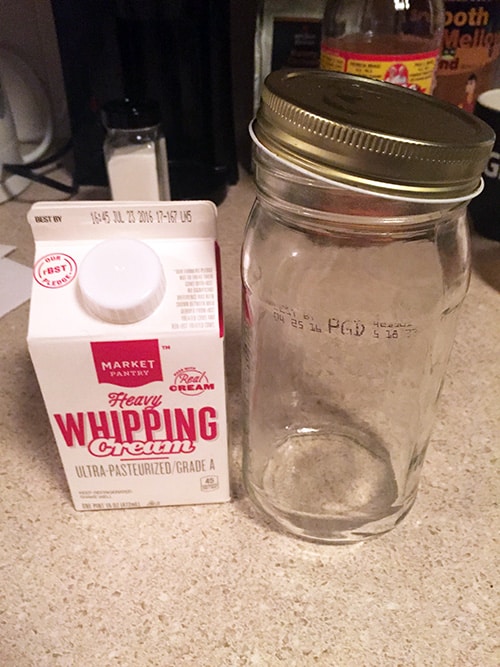
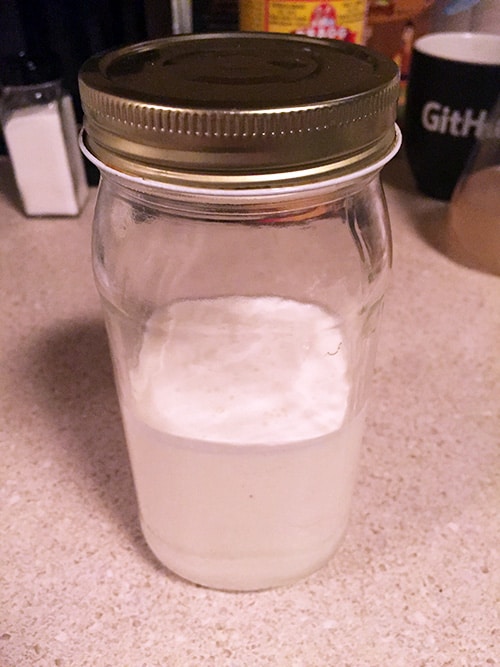
Fill your mason jar about halfway with heavy whipping cream. You only fill it about halfway because you need room to shake it up and for it to expand into the whipped cream stage in the middle (although it kind of shrinks back down at the end when it turns into butter).
Now, tightly close the lid and vigorously shake up the cream for about 20-30 minutes, or until it turns into yellow butter. Yes, that long. My arms were so sore that I started sweating profusely and had to take several breaks and my arms hurt for days afterward. HOW DO PRESCHOOLERS DO THIS?!?
First you’ll just be shaking the cream for a few minutes and it won’t really do anything, then it will start to thicken a little and turn into (unsweetened) whipped cream (which you could totally use with sugar mixed in as homemade whipped cream!), and then you get to this stage in the middle where you have a giant mass of blocky creamy stuff that seems to take up the entire jar and isn’t actually moving, but if you keep shaking consistently for several more minutes after this point where it seems like nothing is happening, eventually your cream mixture will start to solidify and turn yellow and you know you’ve reached the butter stage. 🙂
I opened the jar a few times to check to see how it was doing, and once it’s butter it turns into a solid mass of butter instead of a jar full of whipped cream. You should also strain out / carefully pour out the watery stuff that comes up during this process because you don’t want that part.
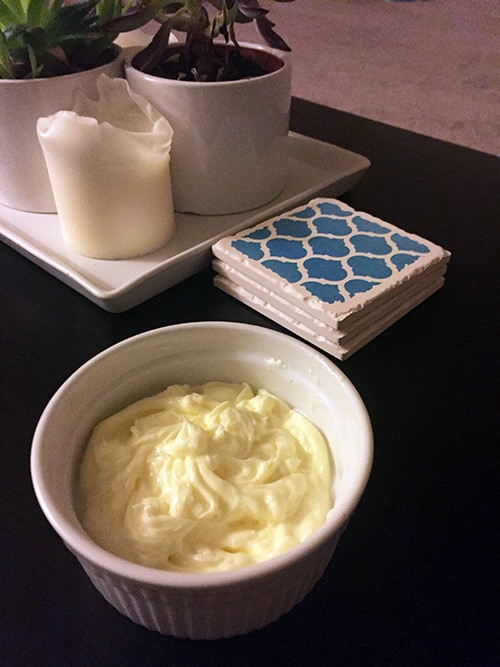
When you’re done shaking, pour out excess liquid, add salt to taste, and transfer to a cute little butter dish. Done! 🙂 You just made homemade butter.