How to Paint Ikea Furniture
Affiliate Disclaimer: This page may contain affiliate links, which means we earn a commission when you buy through our link (at no additional cost to you). As an Amazon Associate, I earn from qualifying purchases. Read our full Disclosure Policy.
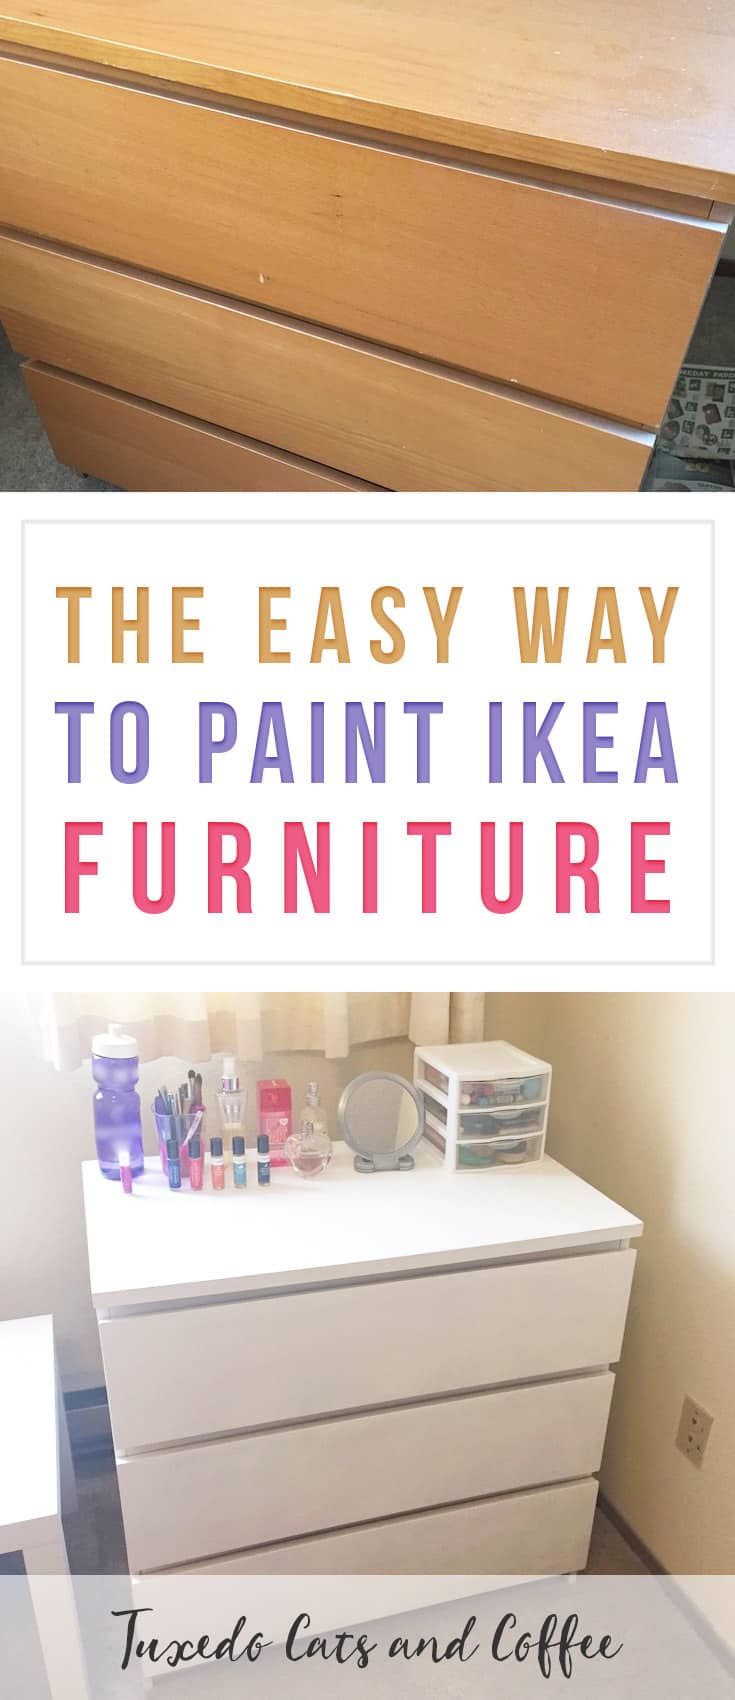
If you’ve ever wanted to revamp your Ikea furniture or redecorate your place on a budget, it’s actually possible to paint laminate Ikea furniture, and it was a lot easier than I expected. Here’s how to paint Ikea furniture, or the lazy girl’s guide to painting Ikea furniture (not limited to just girls though!). 🙂
How to Paint Laminate Ikea Furniture (the lazy way)
In this guide, I’m going to be specifically painting the 3-drawer MALM dresser by Ikea. Note: I HAVE NO TALENT. I am not a professional painter, and I have no experience with wood-working projects, refinishing furniture, or anything of that nature. Proceed with caution. ? However, this process did work well for me.
Supplies Needed:
– Ikea furniture
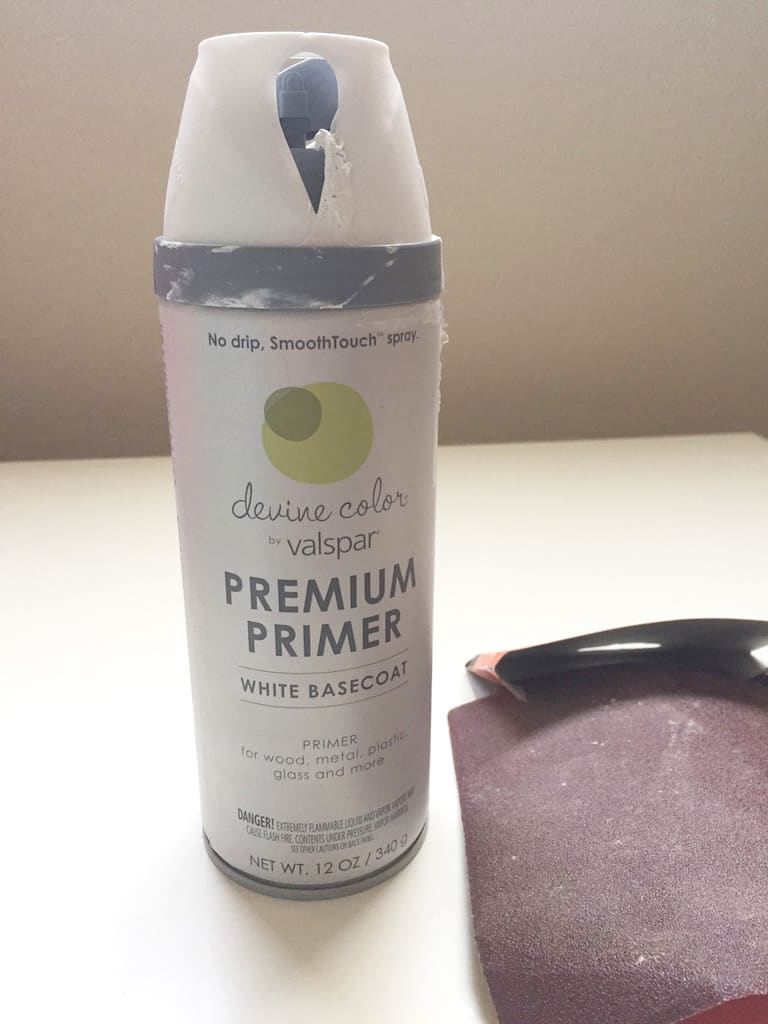
– Medium grit sandpaper
– 3 cans of Devine Color White Primer by Valspar, or more depending on the size of your piece of furniture
– (Optional: cans of color spray paint for on top of primer)
Note: this tutorial is for spray painting specifically, and using regular wet paint would be a slightly different process and requirements. I thought spray painting would have the most even finish with no visible brush strokes. This is also for painting laminate Ikea furniture (with a kinda shiny finish).
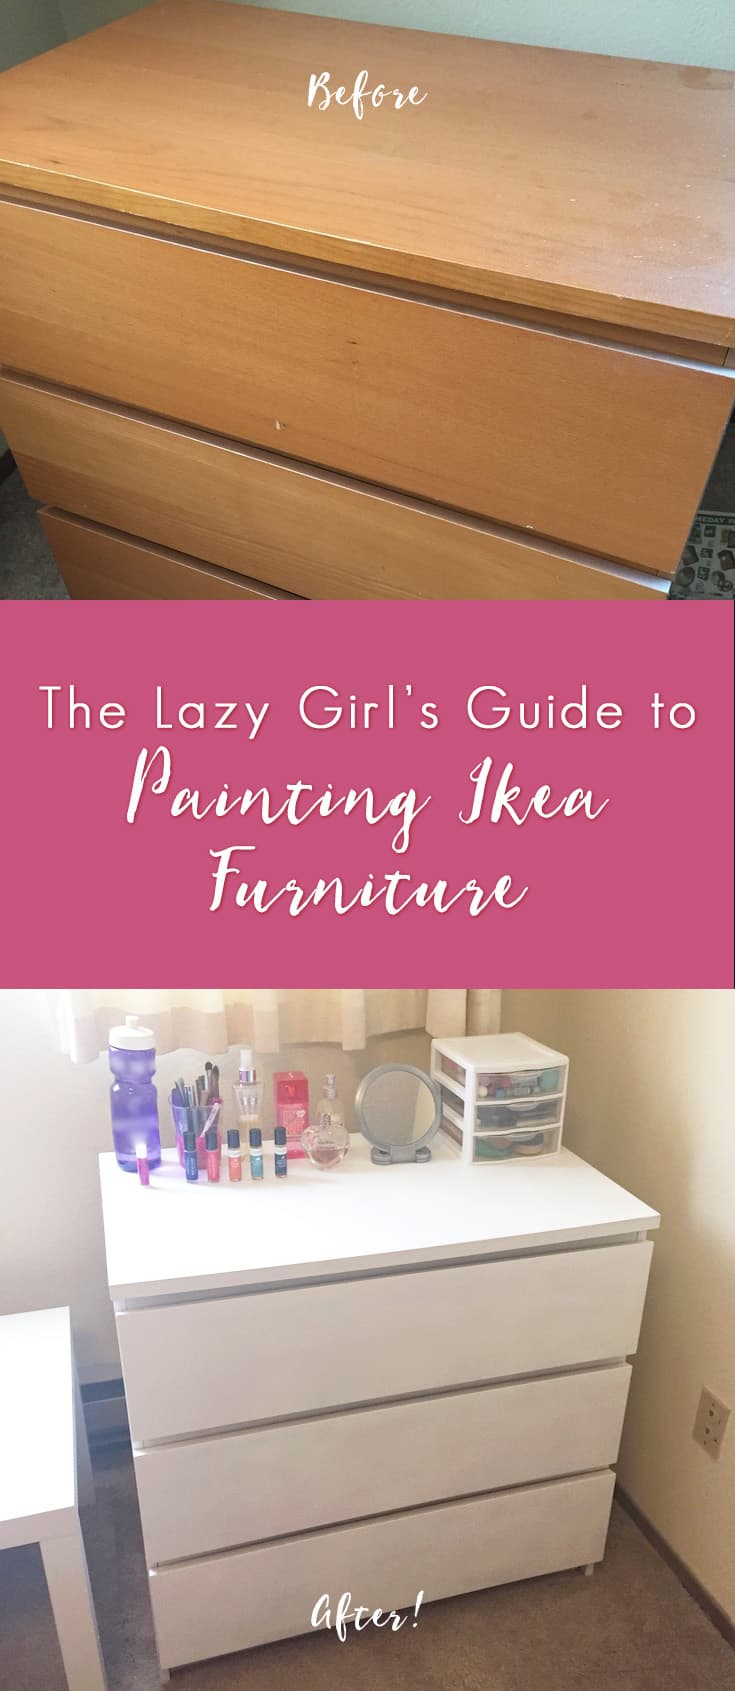
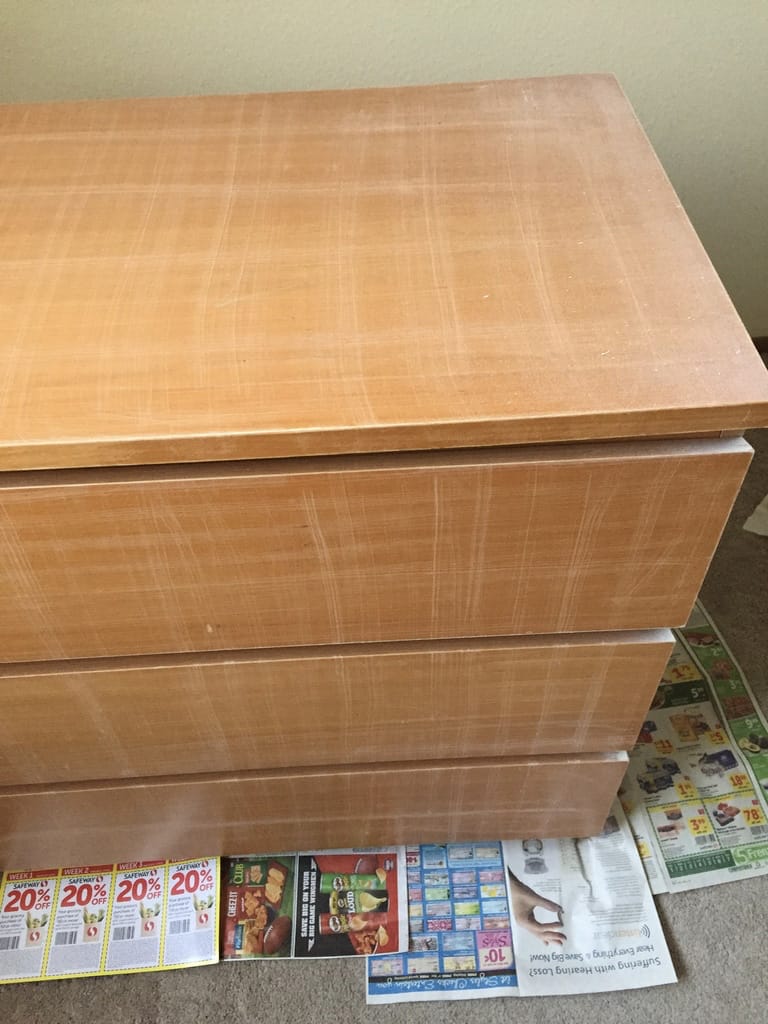
I originally got this as a hand-me-down for free from my roommate and as you can see in some of the pictures, it was an orange-y wooden color, and all my other furniture is either black or white (which matches my cat ;)).
I was thinking of getting a new white dresser, possibly something bigger with more storage space, but I decided it would be more frugal and a little more eco-friendly if I got more life out of the furniture I already had. Plus, there’s a cat-sized hole in the back of the dresser so I wasn’t sure if I’d be able to sell it with damage and didn’t want to have to throw out a perfectly usable dresser.
After watching a few tutorials online, I figured that the quickest and easiest way to paint Ikea furniture was with a little sanding and some primer spray paint in my desired color.
Yes, yes, we’re trying to be “lazy” here, but Ikea furniture usually has a shiny finish on it (some kind of laminate thingie) so you DO need to sand the whole piece of furniture before applying any primer or paint.
Second, because I just wanted to paint my dresser white, I could get away with using a white primer all-in-one. If you want a specific color, you will probably have to do a few more steps and do primer FIRST (still need this) and then add paint.
It sounds like a lot of steps to have to sand and prime your furniture, but if you try to paint Ikea furniture directly, the paint will probably peel right off in time.
Ok, here are the steps with pictures!
How to Paint Laminate Ikea Furniture
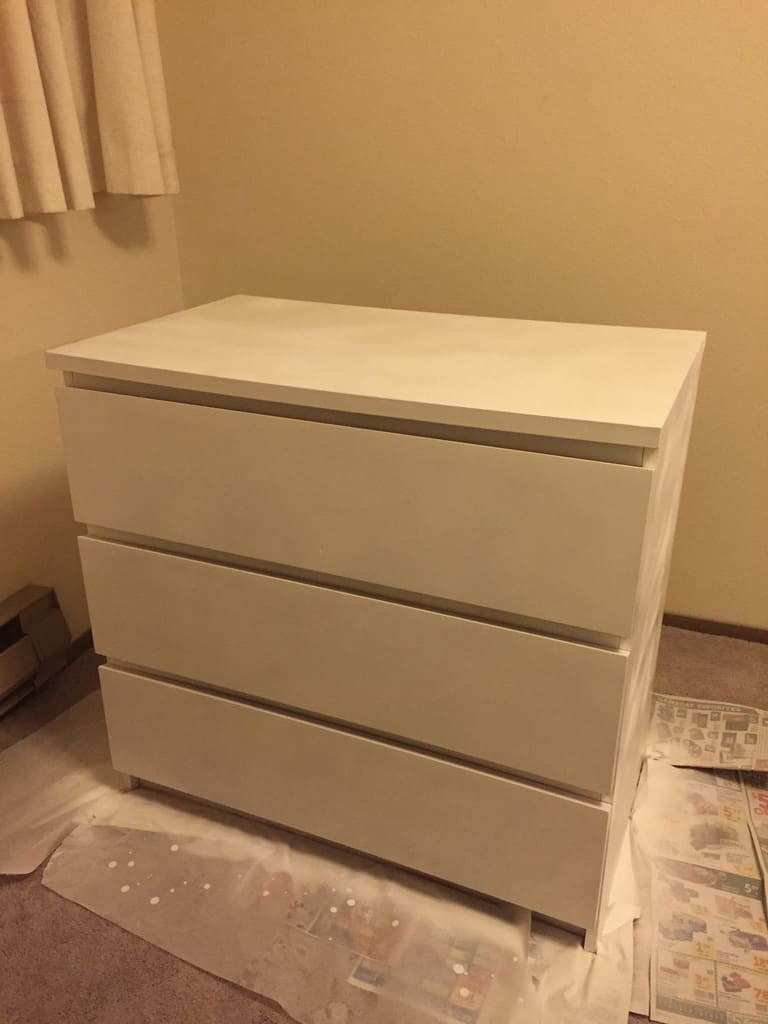
Here’s my dresser at the beginning (except, uh, that one side that I did first as a test that is mostly hiding in this photo):

I did this indoors because I had to (oops), but it’s better if you can spray paint outdoors. If you are inside, then open the windows, turn on some fans, and wear a mask. These fumes are toxic! Also, cover up the floor with a tarp or newspapers or wax paper or something.
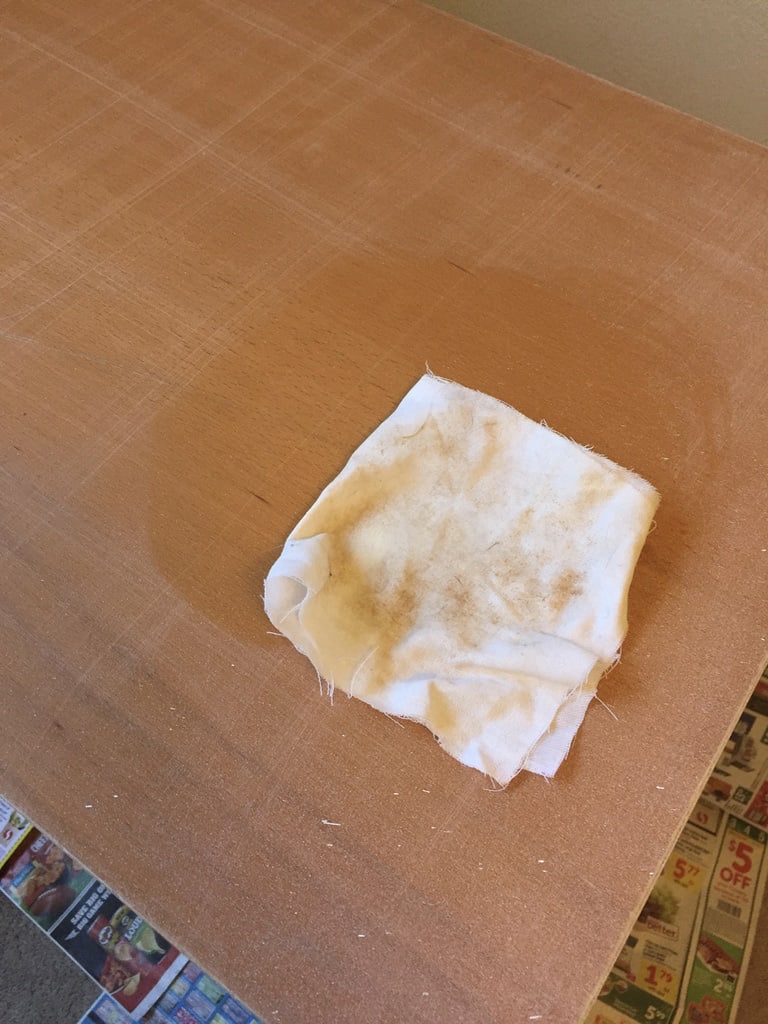
Next, sand everything with your medium grit sandpaper! Make sure you get all the little corners and stuff too, or whatever part is going to be painted. You’re trying to roughen up the surface so it doesn’t have that shiny finish and the paint will actually stick.
To be honest, I didn’t even paint the inside of the dresser. I literally just spray painted what was visible without opening the drawers. But to be fair, the drawers are made out of a metal-like material on the inside and there is only a tiny little strip of the original unpainted finish on the inside. We’re trying to be lazy, right? ?
Next, once you’ve sanded everything, grab a slightly damp washcloth and wipe off all the dust you’ve just created. Then go in with a dry cloth or paper towel and dry everything thoroughly before moving to the next step.
Now it’s time for the paint! I ended up doing 3 coats of paint, which was 3 whole cans of spray paint, because that was pretty much the minimum I could get away with while not having patchy parts. It’s not perfect, but I figure if I can get a few more years’ of use out of my originally free dresser with less than $20 in supplies, it was worth the DIY project. ?
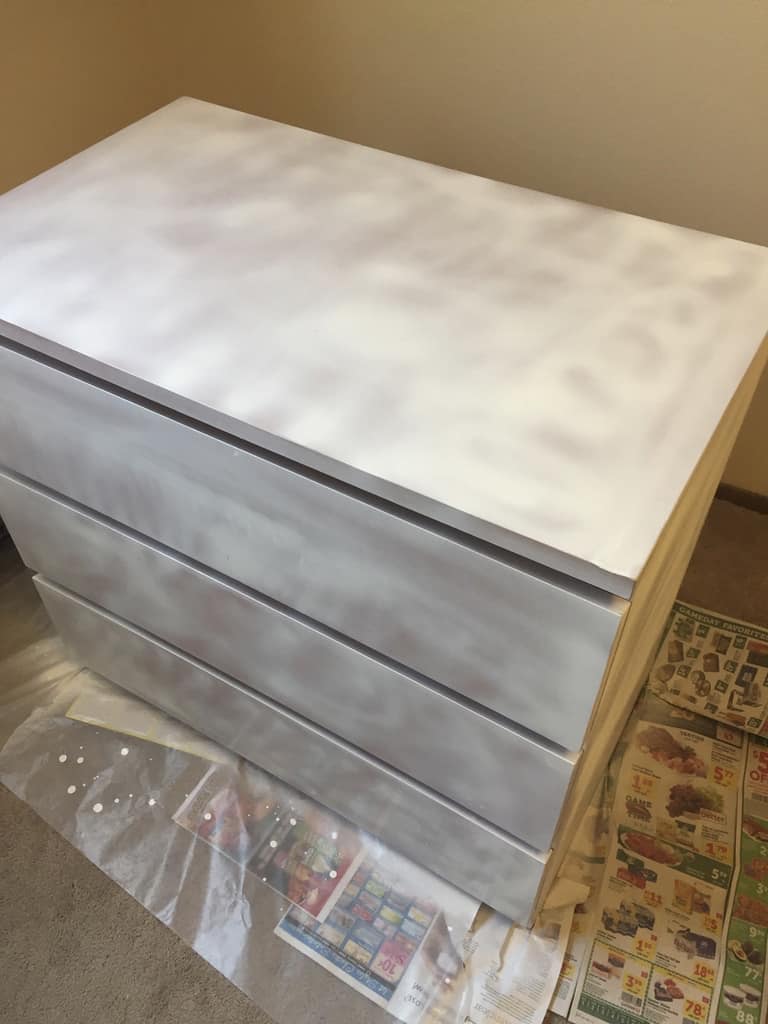
Spray one (mostly even) layer of primer for your first coat. Even though spray paint claims that it dries in minutes, I actually let each coat dry for a couple hours.
So now you wait. The longer you wait in between coats, the better. It gives the paint more time to “cure” and get permanent.
After you’ve waited a couple hours and the paint is dry to the touch, you can spray on another coat.
Second coat:
Then wait a few hours and repeat the process until you’ve completely covered the surface of the furniture.
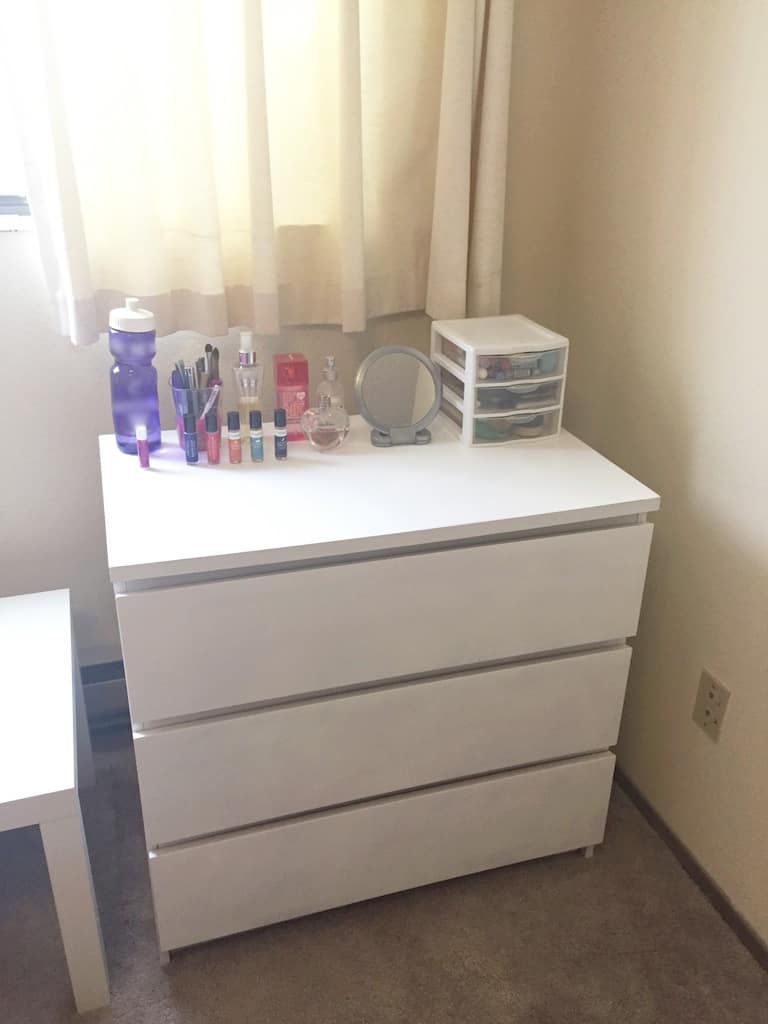
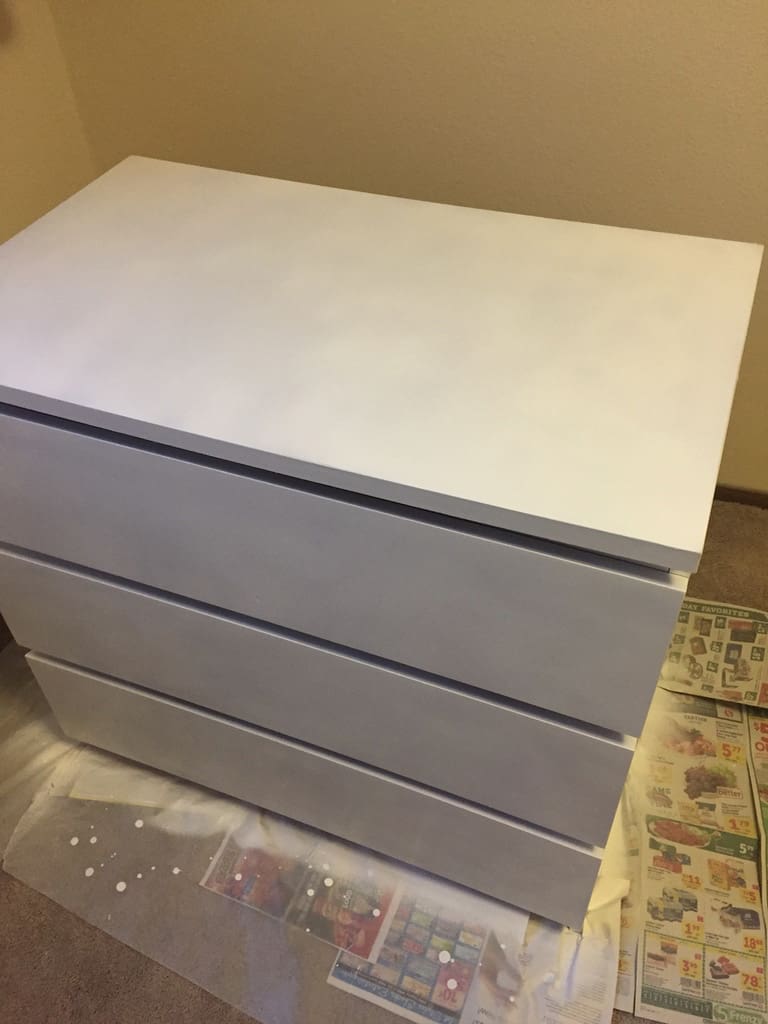
Final coat:
At this point, I waited probably around 24 hours for everything to completely dry before I actually put stuff back on top of the dresser. More drying is a good thing! If there are any tiny little bumps on the paint, you can try gently using some fine grit sandpaper on it to make the surface smoother (but be careful not to take off the layers of paint!).
Done!
A few weeks later and the paint job is staying put with no signs of chipping or peeling off. Hooray!